
Thinking about getting some fermentation lids? There are a lot of choices! Here is my comparison and review of the different styles of fermentation lids out there.

Fermentation lids review
You’ve discovered the benefits of homemade fermented foods, like sauerkraut. Now you want to make your own! But where to start with fermentation equipment?
There are fermenting jars and fermentation lids galore. The choices can be a little overwhelming.
Thankfully, you can have great results with just basic fermentation equipment. Or, if fancy gear is your thing, or requirement, there’s that, too.
If you’re interested in learning to ferment in a crock and are looking for one, I share my fermentation crock comparison here. Learn how to make sauerkraut in a crock here. If you want lots of ideas for what to eat with sauerkraut, get 38 ideas here.
Get my fermented beets recipe here. Another of our favorite fermented foods is this fermented carrots recipe.
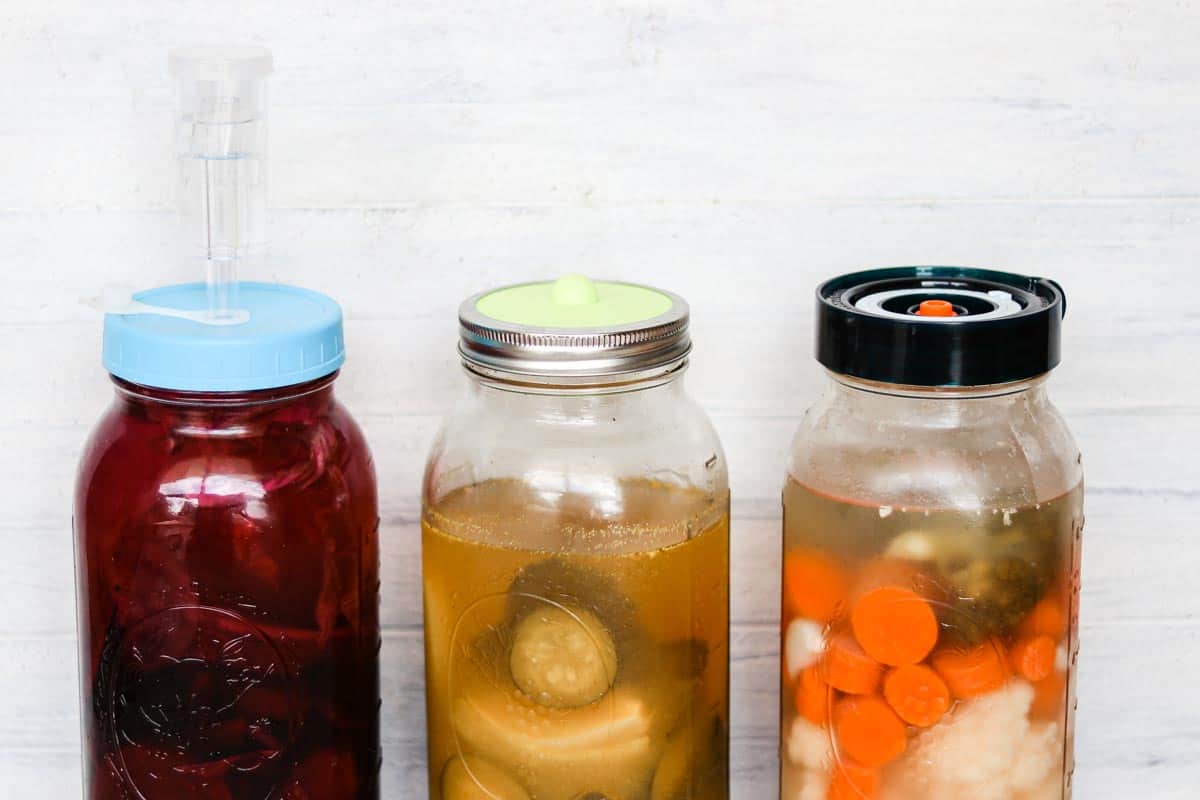
Come along as I share my full fermentation lid review, based on my experience using all of these different fermentation lids for mason jars.
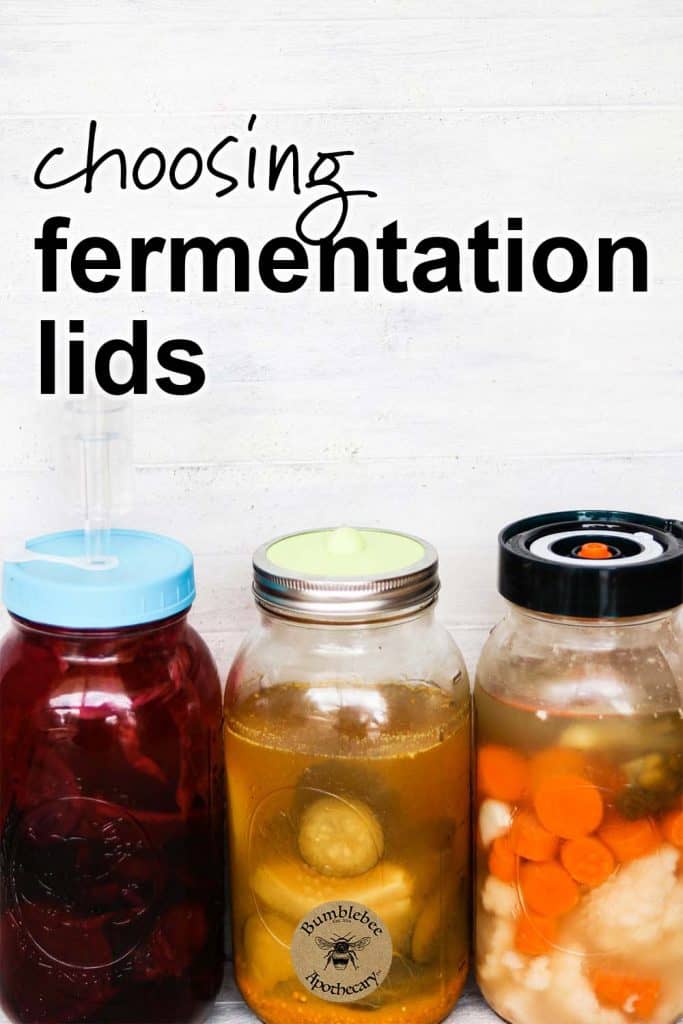
Pin it for later
This post contains affiliate links, which means I make a small commission at no extra cost to you. Get my full disclosure here.
What is a fermenting lid?
Fermentation lids are coverings for containers used to make fermented foods. They usually include some type of system to keep outside air from entering the ferment.
Do you really need a fermentation lid?
It depends on your needs. As you’ll see when you read on, many people can do very well using basic mason jar lids as fermentation lids.
If you have more specific needs, like trouble with kahm yeast or mold forming in your ferments, you’ll probably have much better success with a specially designed fermentation lid that creates an oxygen free environment.
Also, fermentation lids can come in handy on the GAPS diet. When you’re trying to support your beneficial gut flora with homemade ferments, you want to make sure you’re culturing only the right kinds of bacteria. Using an airlock lid can help create that oxygen free environment, ensuring that only beneficial strains of bacteria grow (source).

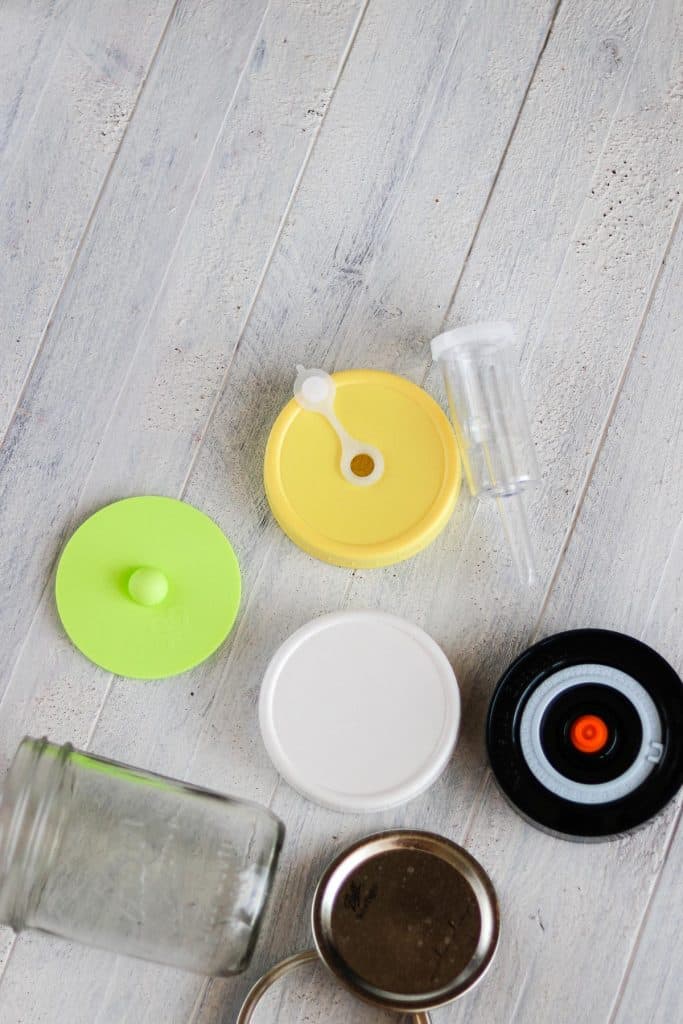
My fermentation lids comparison
Fermentation lids range from basic canning jar lids, to the more gadgety approach with fancy parts and water seals.
White plastic mason jar lid
I’ve used these for years with good success. They are about as basic as it comes. There are no fancy bells or whistles, and are really easy to use.
Plastic mason jar lids pretty much just act as a basic lid covering your ferment. I like to put them on a bit loosely, which enables them to act like a DIY fermentation air lock. Air can escape, but not much air, if any, can get in.
Pros:
Basic, not bulky, easy to clean, readily available, inexpensive.
Cons:
May not provide a complete air lock system, as some air may still be able to enter. No indication of when ferment is done.
Buy white plastic mason jar lids here.
Metal canning ring lid
This is actually my favorite lid for fermented vegetables. There’s no beating how inexpensive and easy to find they are. If you bought new mason jars, you already have these lids! They’re also really easy to use.
My favorite thing about metal canning ring lids is that they have a built in feature allowing you to know when your ferment is done. Notice how these lids have the little part on the flat lid that can click up and down when there is no pressure in the jar? It turns out that comes in very handy.
Here’s what you do: After filling the jar to the shoulder, put the lid on nice and tight. This keeps outside air from entering. Let your ferment sit at room temperature. Each day, check the lid to see if you can still click the flat part up and down.
As soon as the pressure has built up enough to where you can’t click the lid up and down anymore, you know it’s done. Move the ferment to the fridge before opening.
After opening, I usually switch to a plastic mason jar lid, since the one piece design is easier to deal with when serving the fermented food, and the metal lids tend to leave a little residue on the jar over time if you use it as a storage lid for an extended time.
I love that this method will let you know when fermentation is done no matter what room temperature you’re fermenting in. Because, as we know, fermentation happens much more quickly at warm temperatures and much more slowly when it’s cool.
Pros:
Can tell you when ferments are ready, basic, not bulky, easy to clean, readily available, inexpensive.
Cons:
Metal can start to leave a little residue on the rim of the jar if used a long time for storage after ferment is done.
Buy metal canning ring lids here.

Silicone insert
![]() If you want a good, basic option for when you don’t want any outside air entering your ferment, these lids are a great choice. Keeping outside air out of your jar can be great for preventing kahm yeast and molds. This is also a very affordable fermentation lid option, and easy to use.
If you want a good, basic option for when you don’t want any outside air entering your ferment, these lids are a great choice. Keeping outside air out of your jar can be great for preventing kahm yeast and molds. This is also a very affordable fermentation lid option, and easy to use.
These lids are a silicone disc with a vent in the top that allows gas produced to escape the jar, but no outside air to enter the jar. You secure them to the top of the jar with a metal canning ring.
These fermentation lids have a simple design, are easy to use, and easy to clean. My biggest drawback with these lids is that there isn’t a way for them to tell when the ferment is done, like there is with the metal canning ring system.
Pros:
Provides a true lock against outside air, basic, not bulky, easy to clean, inexpensive.
Cons:
No indication of when ferment is done. Metal can start to leave a little residue on the rim of the jar if used a long time for storage after ferment is done.
Buy silicone insert lids here.

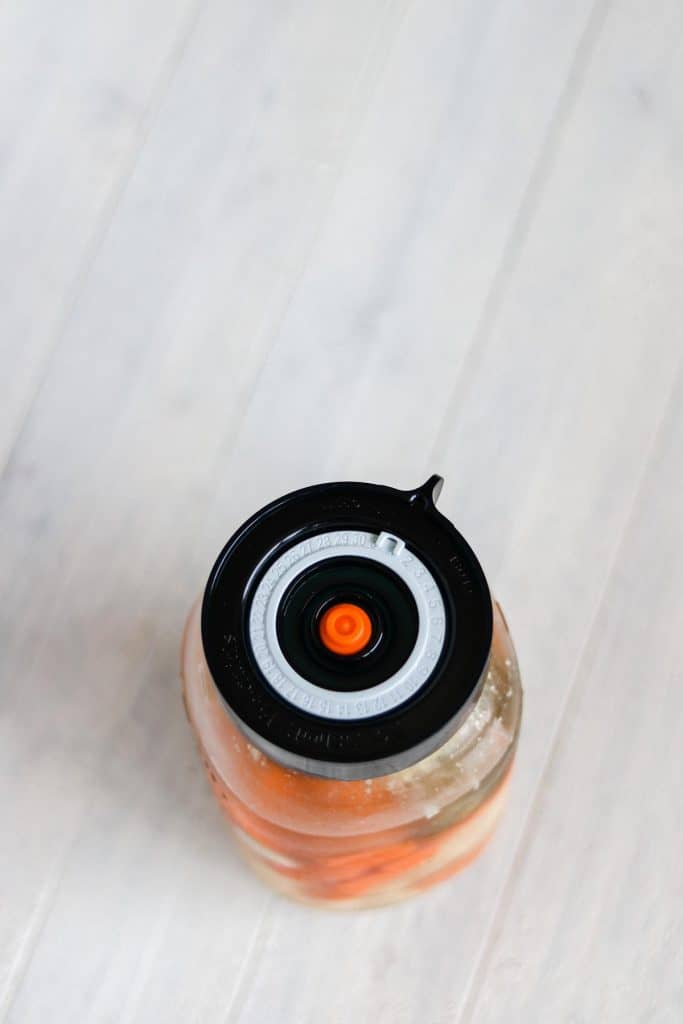
All in one fermentation lid
These lids are a complete system, with a vent and air lock system, all in one lid. I personally really like these for jars of ferments where I use the same jar and keep the ferment going over and over, like with beet kvass or milk kefir. It’s a simple, low profile design, so it’s not something bulky that I’m going to worry about bumping or knocking over.
These are basically a plastic jar lid, with a built in silicone vent in the middle. Like the silicone inserts, this allows gas to escape from the ferment, but keep outside air from entering the jar.
The all in one design makes it so that there is just one piece to keep track of. Since it doesn’t use a metal ring, there isn’t any risk of metal leaving a residue on the jar over time, so you can store ferments with this same lid longterm with no issue. This is also a really easy lid to use.
These ones from Nourished Essential include a little gauge you can set for when the ferment should be done. I didn’t find this very helpful, because ferments culture depending on the room temperature, so the actual days can vary. These are also the most expensive lids of all the fermentation lids.
Pros:
Convenient all in one design, no risk of metal residue when used for longterm storage, provides a true lock against outside air, basic, not bulky, easy to clean.
Cons:
Expensive, no indication of when ferment is done.
Water seal air lock fermentation lid
This is definitely the fanciest and most gadgety of all the fermentation lids. In order for gasses to escape, the bubbles have to rise up and out of the water vessel on the top of the lid, providing the most secure air lock fermentation system.
If you struggle with kahm yeast or molds in your ferments, or if you have any concerns about the wrong types of bacteria or yeast forming, this type of lid will provide the best air lock system of them all. There is absolutely no outside air entering with this system.
These lids include a jar lid with a hole in the top, where the bottom of a water vessel fits. Inside the water vessel there is a floating piece with mesh to provide a layer of protection in case debris happened to enter the water. The water vessel itself also has a mesh top to keep the water clean.
These lids do have multiple parts that you have to keep track of, assemble, and wash periodically, so it isn’t necessarily the easiest lid to work with. You also have to watch the water level in the water vessel to make sure it doesn’t evaporate, and add more water as needed.
In this particular design, you can remove the water seal vessel from the top and close the hole in the lid with a silicone seal. That way, you can use the lid portion to store the ferment long term, and there’s no need to switch to a different lid.
For a person who doesn’t often have a problem with kahm yeast or mold, all the little parts and bulky design might not be worth the hassle. I find I have to constantly watch that I’m not bumping into the high profile of these fermentation lids when they’re on my counter.
Pros:
Provides the most absolute true lock against outside air, so very helpful when kahm yeast and mold are a problem. No risk of metal residue when used for longterm storage.
Cons:
Bulky, lots of parts to assemble, hard to clean, no indication of when ferment is done.
Buy water seal air lock fermentation lids here.

Fermentation recipes
Have you ever used any fermentation lids?
Which ones do you like the best? Share in the comments!
Join our traditional wisdom community, and get exclusive access to my online resource library, where every freebie I’ve made is in one spot!
Shop this post
Want to shop for organic handmade skincare products?
Check out the Bumblebee Apothecary Shop here.
Follow along with Bumblebee Apothecary
Thanks for stopping by! Be well! 🐝