
Learn how to make milk kefir at home with this simple recipe. A delicious, probiotic-rich drink that can support gut wellness and the microbiome.
How to make milk kefir at home from scratch
Milk kefir is full of beneficial bacteria and yeasts that are great for gut wellness, digestion, and overall wellbeing. Plus, it’s easy to make at home, doesn’t need fancy equipment, and the kefir grains keep growing, so you can keep making more for free.
I’m walking you through how to make milk kefir at home, sharing more tips on how to perfect your kefir, and answering common questions. Kefir is easier than making homemade yogurt, and more powerful in terms of beneficial microbes!
If you’re just starting with cultured dairy products, check out my 24-hour raw milk yogurt recipe and my basic post on how to make kefir with raw milk.
Pin it for later

This post contains affiliate links, which means I make a small commission at no extra cost to you. Get my full disclosure here.
Ingredients you need for homemade milk kefir
Milk kefir is a fantastic way to begin with probiotic foods. It’s simple and full of beneficial bacteria and yeast that can support gut wellness and digestion (source).
According to Dr. Natasha, one of the best things we can do to overcome any yeast issue in your body the to combat it with good yeast, and milk kefir is one of the best ways to do that. This recipe works well if you’re on the GAPS diet or not! Anyone can enjoy milk kefir benefits. Also, once you get into the rhythm, making a probiotic-rich fermented drink practically takes care of itself.
Any milk kefir recipe will call for milk (use raw or pasteurized milk, but try to avoid ultra-pasteurized) and kefir grains. Milk from grass fed, organically raised cows is best.
You make the kefir by fermenting milk with the grains. The kefir grains, which are not grains like wheat or rice, are a type of SCOBY. They’re soft, jelly-like clumps of good bacteria and yeast that feed on the sugars in milk and transform them into kefir.
Where to get kefir grains
If you’re looking for kefir grains to make milk kefir at home, there are a couple of ways to get them. Check with your local Weston A. Price Foundation chapter. The chapter leader may know someone nearby who has extra grains to share. You can find your local chapter here. Another great option is to look for Facebook groups focused on fermentation or traditional foods. Many people are happy to share or trade active grains.
You can also buy kefir grains online. Pre-activated grains are ready to use immediately, making getting started easy because you don’t have to prep anything. Dehydrated kefir grains are another option. You need to rehydrate these grains with pasteurized milk first. Just follow the directions on the packet, and then you’ll be good to go.
Tools you’ll need to make milk kefir
- Wide-mouth jars
- Cloth or towel
- Plastic strainer
- Wooden or silicone spoon
- Measuring spoon
Step-by-step guide to preparing your easy milk kefir
Ingredients:
- 1 quart raw or vat pasteurized milk (not ultra pasteurized)
- 1-2 tablespoons of dehydrated milk kefir grains or activated kefir grains from a friend or purchased online
Instructions:
- Activate the milk kefir grains according to package instructions (if needed).
- Add active kefir grains to milk. A good rule of thumb is 1 tablespoon of grains per quart of milk. Pour in milk, leaving some headspace to allow for expansion.
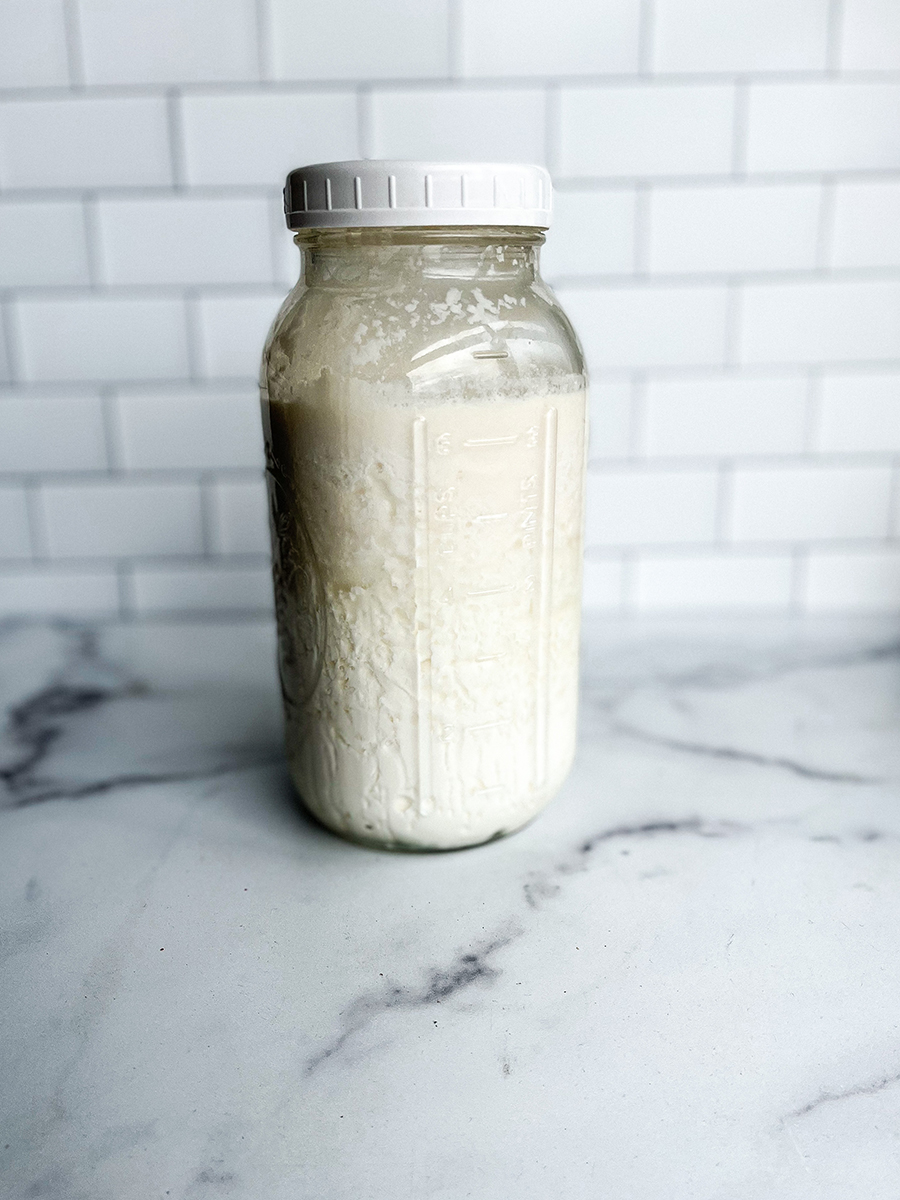
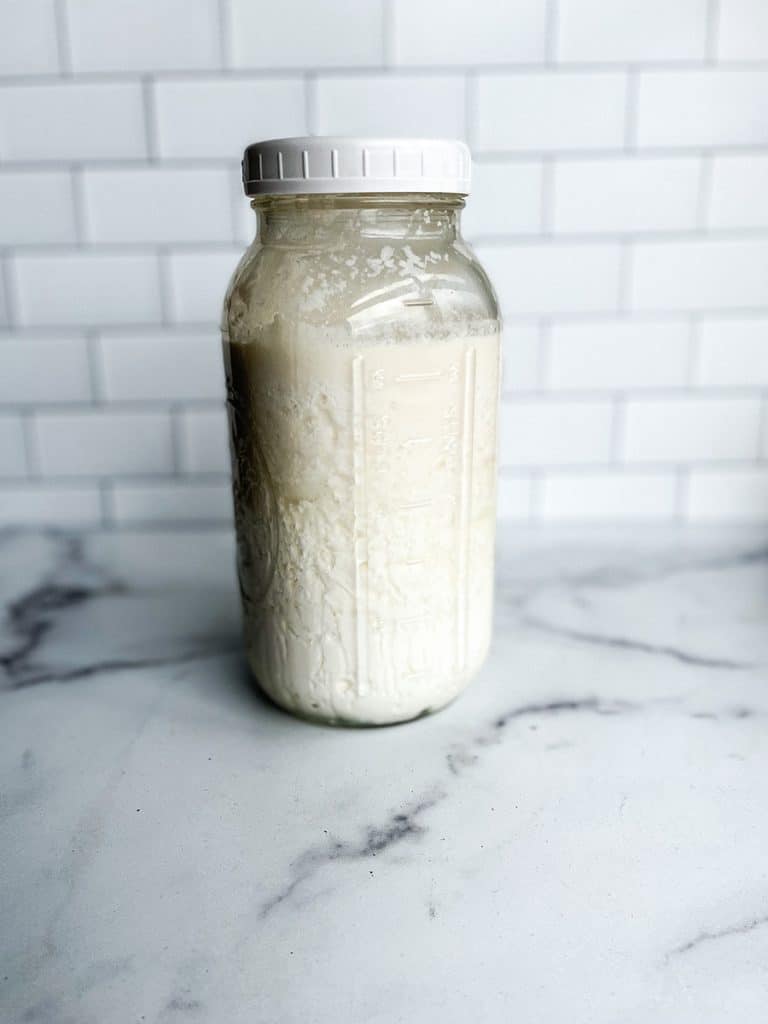
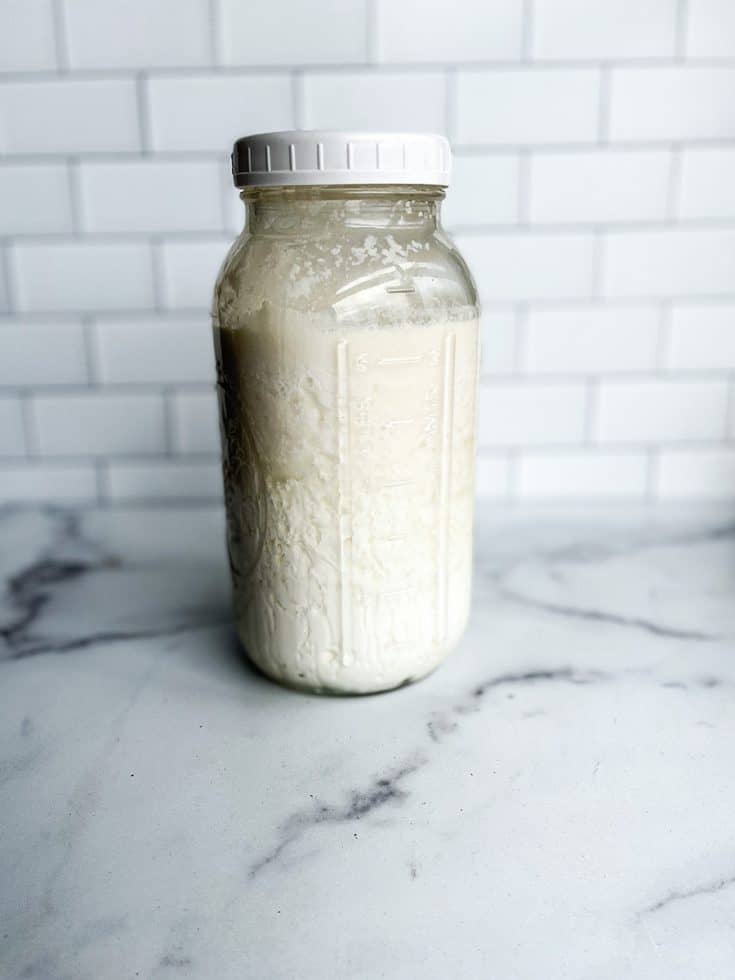
- Cover the jar with a towel or cloth and then leave it on the counter at room temperature for 24–48 hours. Kefir likes airflow and a dark spot.
- You’ll know it’s done when the milk thickens and you see small pockets of whey. If there’s a big layer of whey, it just means it went a little long, but it’s still fine to use.
- Working a bit at a time, pour some kefir into the strainer. Stir gently so that the kefir goes through the strainer, and the grains are left behind.
- Transfer the grains to a new jar of milk.
- Pour the strained kefir into a clean jar, add a lid, and refrigerate. It’s ready to enjoy!
- Start a new batch. Add fresh milk to the jar with your grains, cover with a towel, and repeat the process.
How to use raw milk kefir ferment
You can drink it plain, blend it with fruit for a quick smoothie, or drizzle a little raw honey on top for a nourishing treat. If your kefir separates and produces whey, you can save that too. Kefir whey makes the perfect starter for Dr. Natasha’s gut-boosting vegetable medley recipe. You can also use kefir whey to culture cream.
How to store milk kefir?
Keep it refrigerated in an airtight container. It usually keeps for up to two weeks, or much longer. I like to make enough that we use it up within that time, but it’s still fine as long as it smells and tastes good.
Is it okay to drink kefir milk every day?
Yes! I go through a lot of it in my family. We pretty much culture all of the raw milk we get with kefir at this point. We love milk kefir for gut wellness in our house!
How long does it take for milk kefir to ferment?
The warmer your room is, the faster kefir is going to culture. For example, in summer, I usually strain it every day. In winter, every two to three days. Check for that nice thick texture and a little whey separation.
Can you make kefir with regular milk?
You can use regular pasteurized milk. Just try to avoid ultra-pasteurized because it doesn’t work as well.
Tips for making the best milk kefir
- Cover your jars with a towel to keep out dust and light. Kefir likes the dark!
- The warmer your kitchen is, the faster your milk will ferment.
- Don’t overfill your jars. I like to leave some headspace at the top because kefir expands as it cultures.
- Scoop off the top to find the grains instead of straining the whole jar. The grains like to sit near the top.
- Reuse your jars before washing. The leftover culture clinging to the jar helps the next batch ferment faster. I use mine for 1–2 weeks before washing.
- Avoid using metal tools with kefir. I use a plastic strainer and a wooden spoon to be gentle on the grains.
More GAPS diet probiotic foods to check out next
Have you ever tried making your own cultured dairy?
How do you like to make milk kefir? I’d love to hear what the fermentation process is like for you. Also, do you have any other GAPS diet recipes you love and want to share? Let me know in the comments below!
Join our traditional wisdom community, and grab a free GAPS Diet Essential Recipes eBook when you subscribe!

Want to work with Marisa, Certified GAPS Coach?
I offer a complete GAPS Protocol Support Coaching Package. You can learn more here.
Shop this post
Want to shop for more grocery and natural living essentials?
Check out the Bumblebee Apothecary Shop here.
Looking for a GAPS Intro meal plan?
Looking for a GAPS intro meal plan? GAPS to Go is a 30 day meal plan for the GAPS introduction diet that tells you what to eat each day, with complete cooking instructions, and guidance on when to move to each intro diet stage. Check out GAPS to Go here.

Follow along with Bumblebee Apothecary
Thanks for stopping by! Be well! ![]()
If you make this recipe and love it, please give it 5 stars! Also, tag me on Instagram @bumblebeeapothecary
How to Make Milk Kefir at Home
Learn how to make milk kefir at home with this simple recipe. A delicious, probiotic-rich drink that can support gut wellness and the microbiome.
Ingredients
- 1 quart raw or pasteurized milk
- 1-2 tablespoons of milk kefir starter grains
Instructions
- Activate the milk kefir grains according to package instructions (if needed).
- Add active kefir grains to milk. A good rule of thumb is 1 tablespoon of grains per quart of milk. Pour in milk, leaving some headspace to allow for expansion.
- Cover the jar with a towel or cloth and then leave it on the counter at room temperature for 24–48 hours. Kefir likes airflow and a dark spot.
- You’ll know it’s done when the milk thickens and you see small pockets of whey. If there’s a big layer of whey, it just means it went a little long, but it’s still fine to use.
- Working a bit at a time, pour some kefir into the strainer. Stir gently so that the kefir goes through the strainer, and the grains are left behind.
- Transfer the grains to a new jar of milk.
- Pour the strained kefir into a clean jar, add a lid, and refrigerate. It’s ready to enjoy!
- Start a new batch. Add fresh milk to the jar with your grains, cover with a towel, and repeat the process.
Recommended Products
As an Amazon Associate and member of other affiliate programs, I earn from qualifying purchases.


Nutrition Information:
Yield:
8Serving Size:
1Amount Per Serving: Calories: 63Total Fat: 2gSaturated Fat: 2gTrans Fat: 0gUnsaturated Fat: 1gCholesterol: 10mgSodium: 65mgCarbohydrates: 6gFiber: 0gSugar: 6gProtein: 4g
GAPS™ and Gut and Psychology Syndrome™ are the trademark and copyright of Dr. Natasha Campbell-McBride.
The information in this blog post is my personal experience and opinion. It is for general information purposes only, may not apply to you as an individual, and is not a substitute for your own physician’s medical care or advice. Always seek advice from your physician or another qualified health provider with any questions you may have regarding nutrition, medical conditions, and advice. Never disregard medical advice or delay seeking medical care because of something you have read on this blog.