
It’s like time travel! Pioneers and homesteaders used to make soap from scratch all the time. I think it’s so much fun to revive these lost arts, and make some of the things we use from scratch! Plus, if you make soap yourself, you can use exactly the ingredients you want. Are you ready? Let’s go over some soap making basics.

Soap making basics and safety
Soap making is one of those things that seems intimidating at first. I know I was a little nervous to try it! Once you get the hang of soap making basics, though, it really is very doable. And it’s so much fun!
Pin it for later

This post contains affiliate links, which means I make a small commission at no extra cost to you. Get my full disclosure here.
Soap making basics
All soap making takes, really, is just mixing everything together in the right order, pouring the soap into molds, and letting it cure. You can make melt and pour, cold process, or hot process soap.
I use the cold process when I make soap. That way, the beneficial properties of all the ingredients stay intact.
When you make soap, all of the ingredients are measured by weight. You’ll need a scale that can read ounces to two decimal places, like the one that I have. If any of your fats or oils are solid at room temperature, you’ll have to melt them.
Then, the oil mixture needs to be 100 degrees Fahrenheit before you mix the lye water in. I like to use a crockpot to melt and warm the oils, and for mixing.
It’s important to be precise when you measure soap-making ingredients. Otherwise, your soap might not turn out well. Or, it could even have too much lye left in it, which will burn or irritate the skin.
Next, you make the lye water (that’s where the safety tips come in, and I’ll go over that in a second). You carefully pour the lye water into the warm oils and start to mix. I use an immersion blender.
The goal here is to blend until the mixture comes to a trace. That means the mixture gets thick, like a light pudding consistency. I’ll show you precisely what a trace looks like in the video below.
Good things come to those who wait
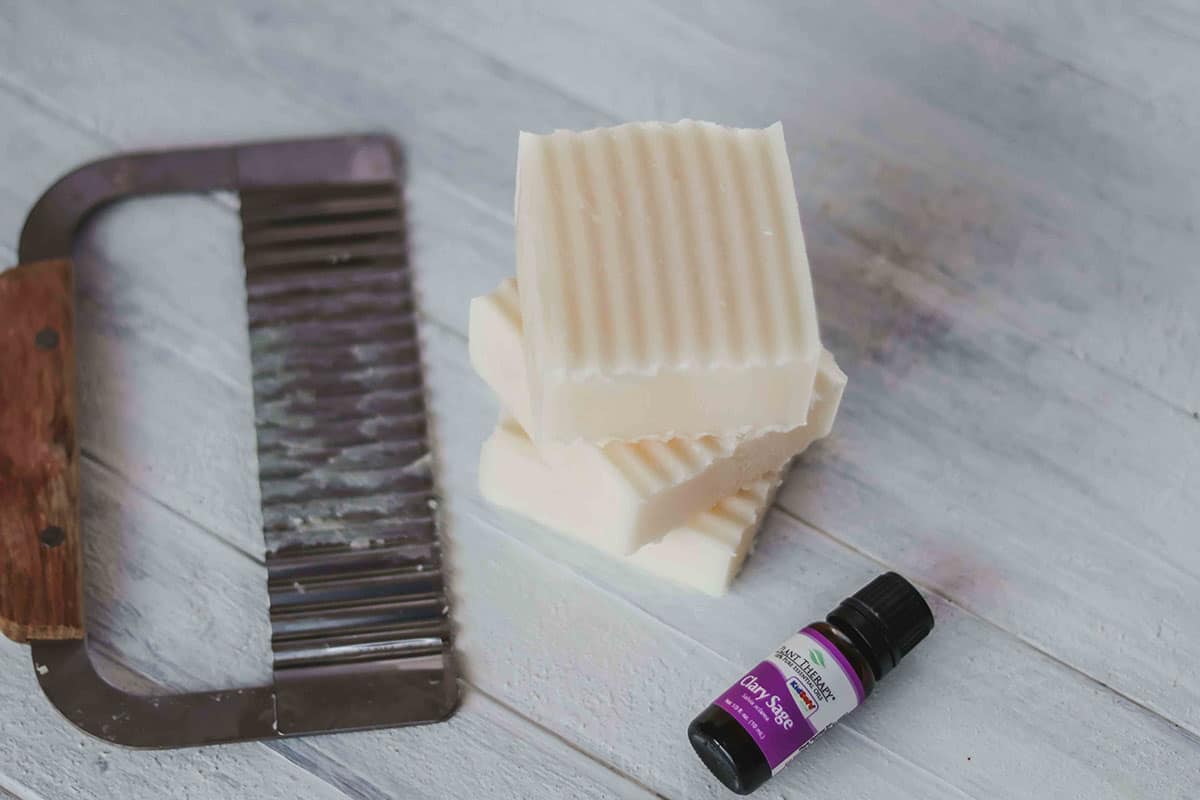
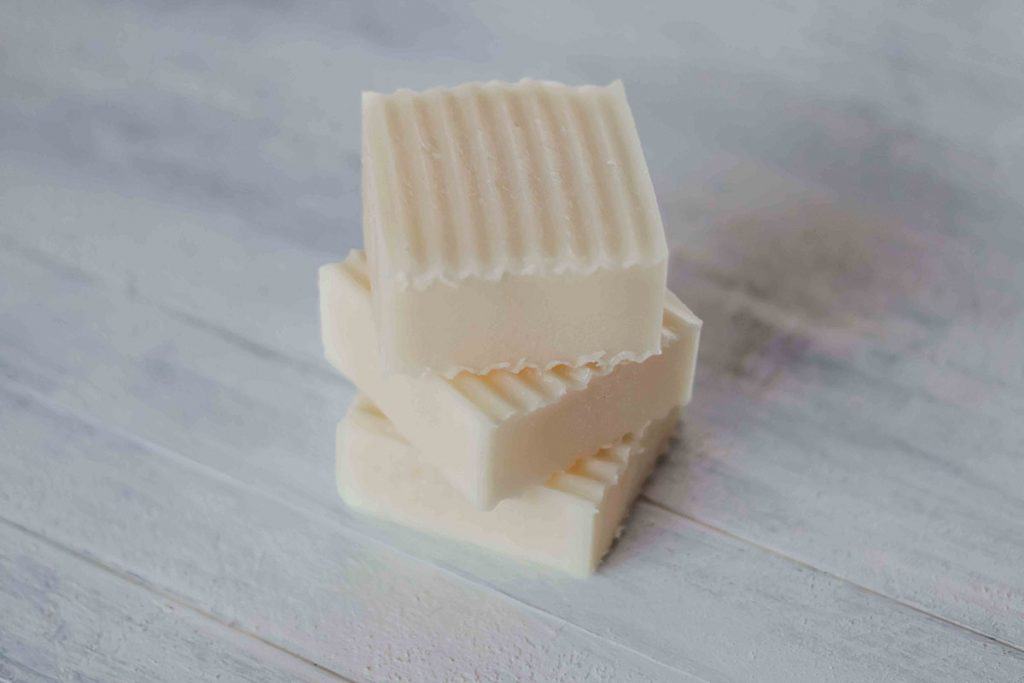
After bringing the soap mixture to trace, you can add essential oils, if you want to use them. Once the essential oils are mixed in, you pour the mixture into molds and let it sit for 24 hours. After 24 hours, unfold the bars and slice them (if you used loaf-shaped molds).
Next is curing time. Put the soap bars somewhere where they’ll stay dry and won’t be disturbed, like a cardboard box on a high shelf. They need to cure for 4-6 weeks, and then they’re ready to use!
Safety first
There are a few things to know before getting started with soap making. During the soap-making process, you have to handle lye. Lye is very alkaline and can burn the skin if you get some on you.
If you handle it carefully and wear gloves and eye protection, you’ll be just fine. Wearing something with long sleeves is a good idea, too.
I recommend keeping a container of white vinegar nearby. That way, you can quickly neutralize any of the uncured soap or lye water that happens to splash on your skin. Don’t let that scare you, though! I’ve made many batches of soap, and as long as you’re careful, it shouldn’t get on your skin at all.
Be sure to mix the lye water outdoors, where you have plenty of ventilation. Keep kids and pets away.
When you make the lye water, the order is very important. You should always pour the lye into the water, never the other way around. You can remember the order by remembering “the snow falls onto the lake.”
Soap making terms
In soap-making recipes, there are some terms that come up. Here are what they mean:
- Trace – The point when the oils and lye water become emulsified. At trace, the soap batter is the consistency of a light pudding.
- Gel phase – While in the mold, the soap becomes hot and enters what is called the gel phase. This makes the finished bars look shiny. It doesn’t affect how the soap works and is just for appearance. Some people encourage the gel phase, while others prevent it. I like to let it happen while the soap is in the mold.
- Curing – This is the time when cold processed soap bars sit after being sliced. Most of the chemical reaction where lye converts the oils to soap happens in the first few days, but it’s best to let cold process soap cure for 4-6 weeks. Water evaporates during this time, which makes the finished soap harder and longer lasting.
Get creative
When you make your own soap, you’re free to use exactly the ingredients you want to use. I love this! Some of my favorite soap-making ingredients are coconut oil, olive oil, and especially grass-fed tallow. I also like using castor oil in my tallow shampoo bar recipe.
I use a soap calculator, which you can find here, to create my recipes. The soap calculator includes the different properties of soaps made with certain amounts of various ingredients. It is really fun to play around with it a design a recipe!
Oils for soap making and what they do
There are an endless array of different oils you can use in soap making. Here are some of the properties of my favorite oils and fats, to get you started. You can use the soap recipe calculator I linked above to read about the properties of more oils and fats!
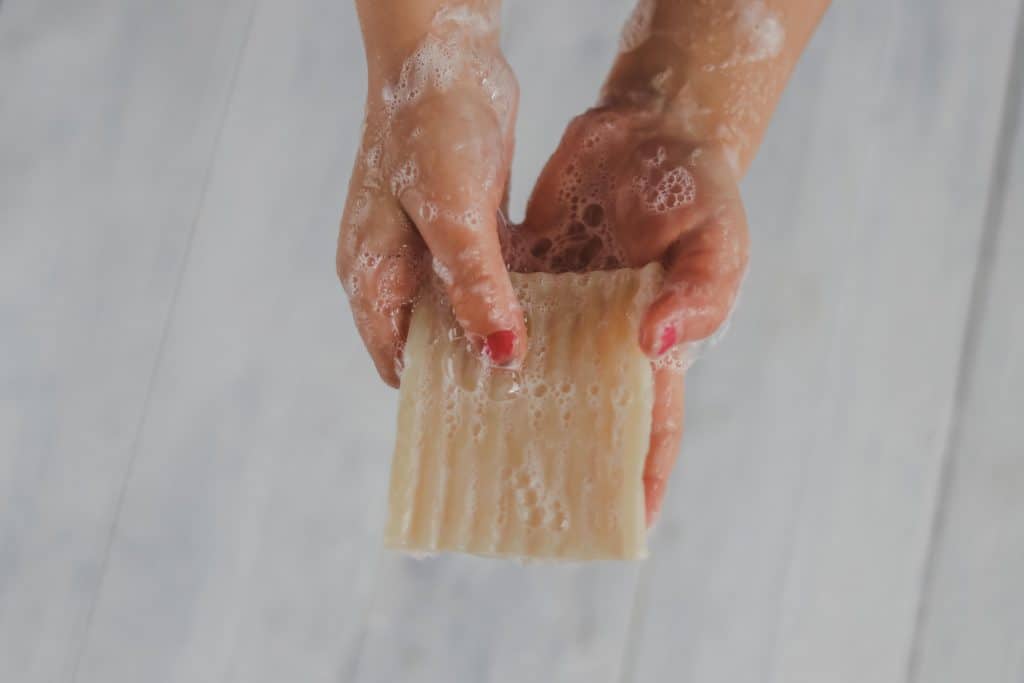
- Coconut oil – Makes a very cleansing bar with lots of lather. Can be a little drying to the skin if you use only coconut oil to make soap
- Olive oil – Makes a rich, moisturizing bar with some lather. Makes a bar that is soft at first, but gets harder the longer it cures.
- Tallow – My favorite! It makes a rich, creamy lather that is gently cleansing, and very soothing and moisturizing for the skin. Tallow also helps to make bars nice and hard, so that they last a long time and don’t melt away. Sometimes people use lard, but I like tallow the best, because of all the nutrients it contains. For more info on all the reasons why I love to add tallow to my soap recipes, check out this post on why add tallow to soap here.
- Castor oil – Castor oil has great benefits for hair. I don’t usually use it in soap bars, but it is very beneficial in shampoo bars.
Supplies for making soap
It’s best to use dedicated equipment for soap making and don’t mix it with containers and tools that you also use to make food. You wouldn’t want leftover lye or essential oils getting into food.
Here are the things you’ll need to make your own soap:
- Scale – You’ll need one that measures two decimal places. I have this one.
- Crockpot – This is my favorite way to gently melt the oils, and I like to mix the lye water into the oils right in the crockpot.
- Immersion blender – You can mix by hand, but the soap will come to trace so much faster with an immersion blender.
- Silicone spatula – These are great for stirring in essential oils and anything else you want to add to soap, as well as scraping all of the soap batters out of the container and into the molds.
- Soap molds – There are many options to choose from! I like these silicone loaf molds that fit into wooden boxes. I slice the loaves into bars with a slicer that leaves ridges.
Soap making recipes
I have several recipes that I’ve designed, and I really like them. Feel free to use any of them as you start your soap-making adventures!
There is a pure tallow soap recipe, which you can find here. It is a very rich, creamy bar that is perfect for sensitive skin and various skin conditions.
I also have a soap recipe that uses tallow in combination with some other ingredients. You can find that recipe here. I like this one for a good, all-around body and hand bar.
This shampoo bar recipe, which you can find here, is one of my favorites. It cleans hair gently and beautifully, while conditioning. It is the perfect solution to truly all-natural hair care.
Alright, are you ready to get started? We’ve gone over all of the soap-making basics and safety… Let’s make some soap!
Soap making basics directions
Ingredients:
- Oils of choice, according to the recipe
- Lye
- Water
- Essential oils (optional)
Instructions:
- Weigh all ingredients.
- Melt oils, if needed.
- Bring oils to 100° F.
- Mix lye water by pouring lye into the water, and stirring gently (do this outdoors and wear safety gear).
- Allow lye water to sit for 10 minutes.
- Carefully pour the lye water into the melted oils.
- Mix the soap mixture with an immersion blender until it becomes thick, like a light pudding consistency (reaches trace).
- Add essential oils, if using, and mix again.
- Pour soap into molds and cover with wax paper.
- Wrap molds in a towel and allow them to sit for 24 hours.
- After 24 hours, slice the bars and put them in a safe place with adequate airflow around all the bars.
- Let bars cure for 4-6 weeks.
Soap making recipes
Are you excited to try soap making?
What ingredients do you want to use? Let me know in the comments!
Join our traditional wisdom community, and grab a free DIY organic personal care recipes eBook when you subscribe!

Shop this post
Scale that goes to two decimal places
Want to pick up a handmade tallow soap or shampoo bar?
Check out the Bumblebee Apothecary Shop here.
Want to grab some labels for your homemade soap and other DIY skincare products?

I’ve done all the hard work for you with this set of 30 printable skincare product labels. All the recipes are included on the back labels, too! Get your set of printable skincare product labels here.
Follow along with Bumblebee Apothecary
Thanks for stopping by! Be well! 
Hi there, Do you have a recipe if I just want to use Olive Oil as the only oil? Thanks!
How many molds do I need for this recipe? I watched one of your videos a few week ago and noticed that it used 3 or 4 molds but now I can’t find it.
Hello. I am new to soap making and I was wondering if I need to use a certain type of spoon to mix the lye into the water(I heard that certain metals react badly with lye). Also, I was wondering about adding colors or dyes to the soap; will this mess up the soap or change the properties of the other ingredients? If it is acceptable, when can I add them?
Hi, How do you calculate lye concentration?
Hello! I’ve saw your recipe and looks so fun and easy to make. I decided to use olive oil and I can’t find where it says how much to use. How much do I need for this recipe? Thank you!
I have several recipes, but here is a good one to get started with: https://bumblebeeapothecary.com/how-to-make-tallow-soap-recipe-diy-tutorial/
I just made a tallow only batch, the question I have is, it went to trace in like 30 sec. and went to thick pudding in just over 2 mins, it that normal?
Yes, that sounds right if you’re using an immersion blender. I’ve had it do that also 🙂
Maybe I need to just hand stir next time?
Hi, I am new to the cold press process but i have tried the melt and pour soap making. when you pour the soap into the molds using the melt and pour you spray the soap lightly with alcohol to get rid of the bubbles. I didn’t read anything about bubbles in the soap. Does the cold press process just not get bubbles? If they do, can i still spray with alcohol?
Great question! You can still spray with alcohol to get rid of the bubbles with cold process soap. I don’t usually do it because with this recipe I haven’t had bubbles be an issue, maybe the consistency just doesn’t let it happen as easily. But if you see a need, you can do it 🙂
Just reading through the directions and most steps are self explanatory. One step I was curious about though. After pouring into mold and covering with wax paper why wrap mold in a towel? What purpose does that serve?
Thanks for this question! When I learned about soap making, I learned to do this to let the soap cool slowly. That encourages “gel phase” which is what they recommended. 🙂
Hi Marissa. Thank you for your amazing recipes and videos. Can the soap cure faster than 4 weeks? If you use smaller blocks, i.e. ice cube size soap blocks, will it cure faster? Won’t all the very expensive essential oil flavors not evaporate if the soap stands in the open air for 4 weeks?
You’re welcome, thanks for the kind words! There isn’t really a way to speed up the cure time for cold process soap that I know of. I don’t believe that the size of the bars makes a difference. If you want soap that is ready very quickly, I would look into hot process soap. The essential oils are mostly encased within the hardened soap, so I don’t find that they dissipate over time, but are rather released as you use the soap 🙂
Thank you for your reply. I am using the hot process (it think).
(melting the tallow and oils, before adding the lye and essential oils). Is there another process that I have missed? I would love to find a way to produce soap quicker than 4 weeks.
Where can I find the wood molds and silicone inserts for them?
I have the molds and all the other equipment I use listed towards the end of the post under “shop this post.” Here is the link for the molds: (affiliate link) https://amzn.to/2MBWPOo
Great post, Marisa! Thank you for sharing your shampoo bar recipe. I look forward to trying it with some rosemary essential oil to help with occasional dandruff.
Thank you! Enjoy! 😊
I really want to make my own soap!!! Thank you so much for this detailed, helpful post!
You’re welcome!
I’ve been so interested in making my own soap and this is so interesting!
You’ll enjoy it!
I love the idea of making my own soap. Your bars are so simple and beautiful. Need to try this!
Thank you!
I love making homemade soap with my essential oils! I can’t wait to try your recipes!
It’s so fun!
How much essential oil do you use?
I have a recipe here: https://bumblebeeapothecary.com/how-to-make-tallow-soap-recipe-diy-tutorial/ Hope that helps!
Great thank you!! I just rendered my tallow the past couple days. I got some leaf fat from our local butcher shop and it looks great and ready to go. But the fat I got from Safeway had a lot of meat on it, which I trimmed. But it definitely has a beefy smell still. I’m Going to purify that batch a few more times. Thank you for the detailed instructions & videos. I can’t wait to start soaping with it next!
Soap making actually looks like so much fun!! I love that you can make it exactly the way you want to!
It’s so fun to get creative with it 🙂