
You’ve made it past the halfway point! In the GAPS diet introduction phase stage 4, we get to add some tasty foods for real variety.

GAPS diet introduction phase stage 4
You’ve been having lots of soft, nourishing foods so far. Now you get to add some new foods! Let’s talk about grilled meats, juicing, and baked goods.
What can I eat on the GAPS diet
Dr. Natasha says it’s very important to continue all of the previous foods you’ve added so far on the GAPS introduction diet. She says to especially keep on having meat stock, with every meal and between meals.
Dr. Natasha says to continue where you’re at with fermented, foods, too. Fermented foods are an entire topic in themselves, and I’ll go into a lot more detail with that soon. For now, she says to keep slowly adding or increasing them as your body is tolerating them well.
There’s no rush at all. Often, people will focus on other nourishing foods for a bit, and the fermented foods will come in bigger qualities, or at all, later on.
Pin it for later
This post contains affiliate links, which means I make a small commission at no extra cost to you. Get my full disclosure here.
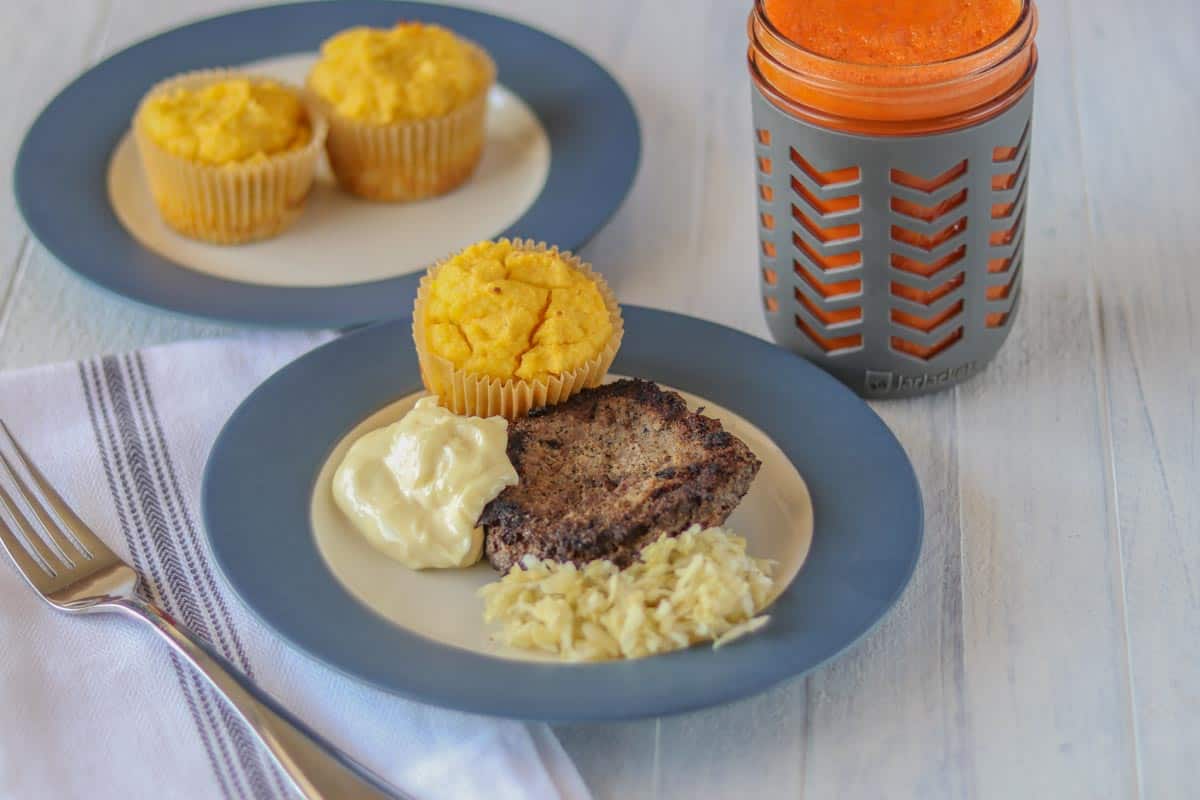
Grilled and roasted meats
Up until now, you’ve been cooking meats in liquid to keep them soft. Now Dr. Natasha says you get to have roasted and grilled meats.
The options here are really endless. I like making whole roasted chickens, duck, goose, or turkey. I also grill ground beef for hamburger patties, or grill steaks.
Dr. Natasha says to just make sure to avoid getting them too browned, and don’t eat any burned bits. She says that burned and very brown meats are still too hard on a healing digestive system.
Dr. Natsha says to eat your grilled and roasted meats with cooked vegetables, and fermented vegetables, if you’re tolerating those well. There are so many possibilities for delicious combinations!
GAPS diet olive oil
Dr. Natasha says that the next food we get to add is cold pressed olive oil. This will really allow you to get creative with dips and dressings!
She says to start with just a few drops at first, and slowly increase until you’re having 1 -2 tablespoons per meal. You don’t have to have the olive oil with each meal, but it is a wonderful ingredient for making homemade mayonnaise and other dressings.

GAPS diet juicing
Now we get to introduce something really fun! Juicing is a wonderful way to give the body a whole lot of nutrients. Freshly pressed juices are easily absorbed by the body, and don’t require much effort to digest (source). I have used this juicer for years, and I really like it.
Dr. Natasha says to start with carrot juice. She says to use organically grown carrots, and juice just a small amount at a time. Fresh juices oxidize quickly, so it’s best to use them up right away.
Dr. Natasha recommends beginning with a few spoonfuls of carrot juice. She says to “chew” the juice slowly before swallowing. This is actually where the first stage of digestion happens: in your mouth! Chewing the juice will ensure that this digestion step happens with the juice.
Over time, she says to gradually increase the amount of carrot juice until you’re having 1 cup per day. At this point you can begin juicing other vegetables as well, such as celery, cabbage, lettuce, and mint leaves.
Dr. Natasha says it’s best to drink the fresh juices on an empty stomach. First thing in the morning and the middle of the afternoon are ideal times. I explain everything you need to now on how to do GAPS diet juicing here.
GAPS diet bread
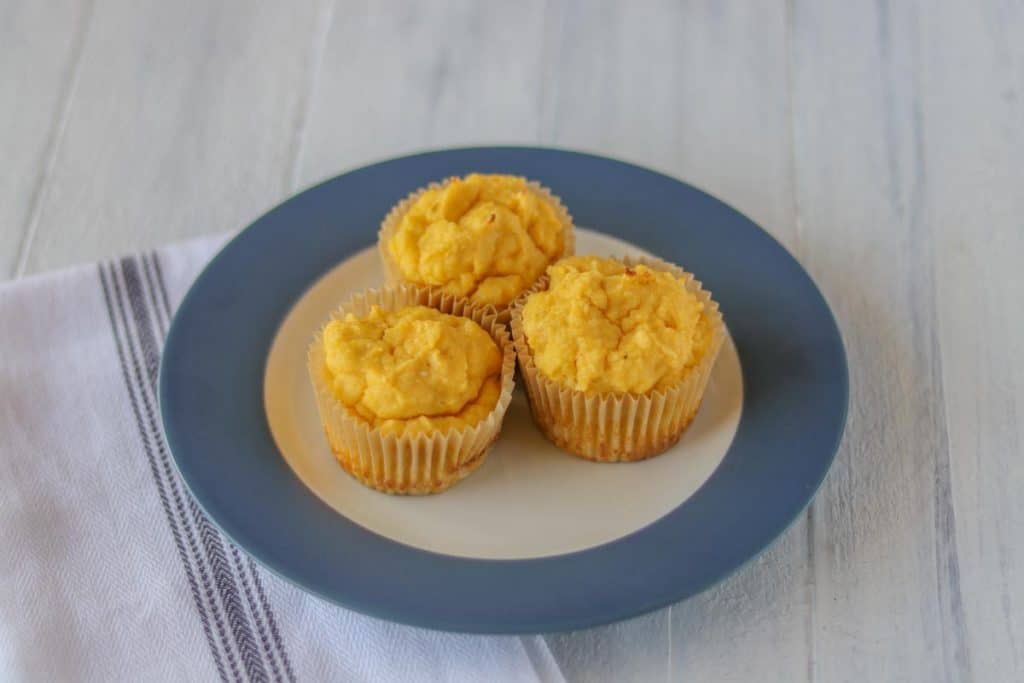
The last food for the GAPS diet introduction phase stage 4 is really exciting: baked goods! You’ll make GAPS legal breads, muffins, and other bakes using coconut or almond flour, eggs, cooked winter squash, some fat, and a little salt.
I have a GAPS pumpkin muffin recipe on my blog, and I’ll be adding lots more baked recipes for the GAPS diet soon. For now, you can adapt the pumpkin muffin recipe for intro stage 4 by leaving out any of the ingredients that haven’t been introduced yet.
As before, Dr. Natasha says to start slowly and increase very gradually. She says it’s always important to really gauge how your body is doing with each new food. Before you know it, you’ll be ready to go onto stage 5 and then on to stage 6!
I talk about how to transition to the full GAPS diet here. If you want to read ahead on how to transition off of the GAPS diet, check out my post on coming off of the GAPS diet here. I go over supplements for the GAPS diet here.
GAPS diet introduction phase stage 4 video
GAPS introduction diet recipes
GAPS pumpkin muffins (adapt for GAPS intro)
24 Hour Raw Milk Yogurt Recipe without Heating
How to Make Sour Cream from Raw Milk
How to Make Kefir with Raw Milk
How are you feeling on the GAPS introduction diet?
What improvements have you seen so far? Tell me about it in the comments!
Join our traditional wisdom community, and grab a free printable GAPS diet kitchen checklist when you subscribe!

Want to work with Marisa, Certified GAPS Coach?
I offer a complete GAPS Protocol Support Coaching Package. You can learn more here.
Shop this post
“Gut and Psychology Syndrome” by Dr. Natasha Campbell McBride
Organic produce, staples, meats, and more
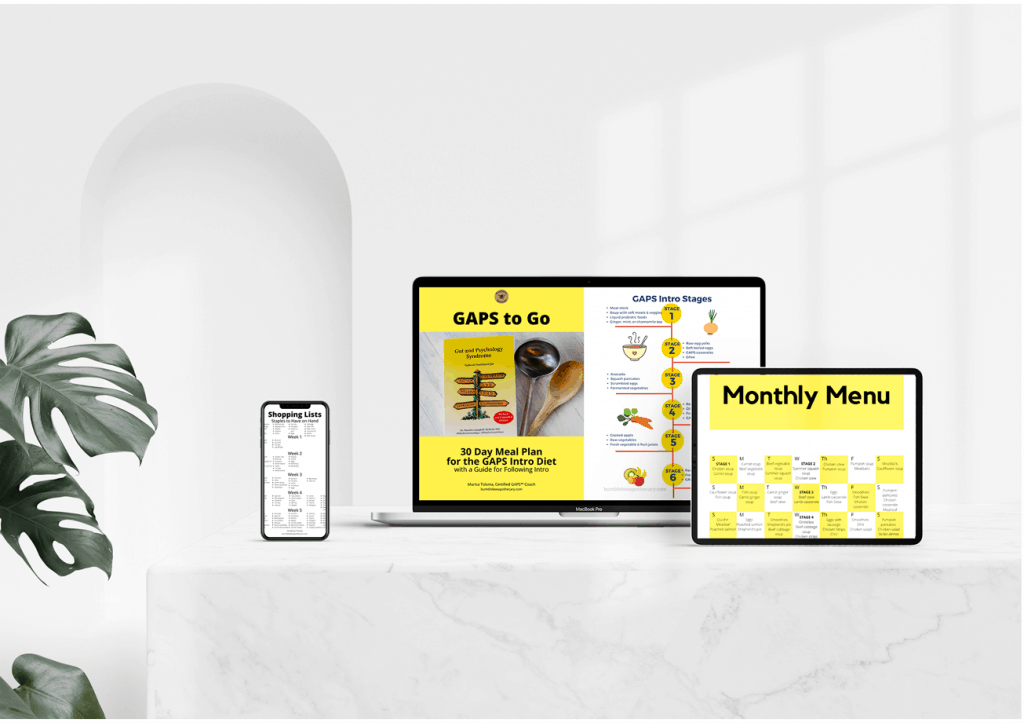
Looking for a GAPS intro meal plan?
Looking for a GAPS intro meal plan? GAPS to Go is a 30 day meal plan for the GAPS introduction diet that tells you what to eat each day, with complete cooking instructions, and guidance on when to move to each intro diet stage. Check out GAPS to Go here.
Follow along with Bumblebee Apothecary
Thanks for stopping by! Be well! 
GAPS™ and Gut and Psychology Syndrome™ are the trademark and copyright of Dr. Natasha Campbell-McBride.

When it comes to baked veggies are they actually nutritionally better in soups and stews than put with ground beef in a pan with ghee in the oven?
thank you!!
I love reading about GAPS diet. Thank you!
Oh wonderful, I’m glad! Thank you so much 🙂
I love reading about GAPS diet. Thank you!
You’re welcome, I’m glad!